Monday, April 28, 2014

Life Changes and Sunday Breakfast: Buttermilk Biscuits and Sausage Gravy


It's been a while and I wasn't sure I'd be back to this, quite frankly.  I have instituted a major change in my life, and hopefully this blog will allow me to share some of the triumphs and challenges that come along with it.  Since my last post I had a gastric weight loss procedure called a Sleeve Gastrectomy.  This is a surgical procedure that reduced the capacity of my stomach to around 8oz.  It has been six months since my surgery and I am down around 150 pounds from my peak weight of ENORMOUS.  It hasn't been easy, but we are taught to use the surgery as a tool, not an answer in itself.  The procedure I had differs from the full gastric bypass in that the intestines are not re-routed, and it cannot be un-done.  around 7/8 of my stomach has been removed, and what is left is a narrow "sleeve".  One of the benefits of this procedure is that the portion of the stomach that was removed is the portion that produces the hormone that makes you feel hungry.  The other benefit is I can really eat WHAT I want, just not very much of it at a time.  What this procedure does NOT do however is prevent "grazing" behavior, which was always my biggest issue. THAT part's on me.  Anyway, more about this in later entries!!  Let's get to breakfast!!                                              

This one's an easy crowd pleaser... at least in our family.  Freshly made buttermilk biscuits with sausage gravy.  Frequently on a Sunday when Erika's boys are with us, I will make pancakes, and when feeling ambitious, I'll make waffles, but both of those operations, while easy, are time consuming in that you have to man the griddle or waffle iron for the entirety of breakfast, then eat when everyone else is finished, or make everybody wait for soggy pancakes or waffles!  This one has all the work up front, and it's really not too much work at all!  The biscuit recipe is a minor variation of a recipe for southern biscuits from Food Network's Alton Brown.  The variation is to use all butter instead of 1/2 butter and 1/2 shortening.

For the buttermilk biscuits, you will need the following:
2 cups all purpose flour
4 teaspoons baking powder
1/4 teaspoon baking soda
3/4 teaspoon salt
4 tablespoons butter
1 cup chilled buttermilk


First cut the 4 tablespoons butter into little pieces, as quickly as possible, to minimize any softening.


and then, put them in the freezer to get cold again, while you execute the next step.

Cold butter makes flaky biscuits because, well, SCIENCE! However, the handling while cutting it into small pieces heats the butter up, so I have settled on this method, which has been working pretty well for me. 
Sift the flour for maximum fluffiness into a large mixing bowl, and mix in the rest of the dry ingredients...
Now add the cold butter and get to work QUICKLY... using a pastry cutter and your hands mix the butter into the dry ingredients till it resembles rough cornmeal...
... like so...
 Make a well in the center...
and add the chilled buttermilk.
stir with a large spoon until the dough forms up...
and turn the dough out onto a floured surface.  sprinkle a bit more flour on top and using your hands, flatten the dough, and proceed to fold it over onto itself 5 or 6 times, ending up with a 1" to 2" thick slab.
Use a small biscuit cutter and place the biscuits on a greased baking sheet, or use parchment like I do.  It is important NOT to re-work the remaining dough... the biscuits will get tough.  just use the scraps as they are (or fit a few together in the cutter and lightly press them together like the second from bottom right
Bake at 450 degrees until they look like this... around 15-20 minutes or so... pay attention, you will be busy for most of that time making the sausage gravy, if that's how you roll... and that's how I roll.
 While they are baking brown one pound of sausage, either fresh or the kind in a tube like I did.  I used Bob Evans (or Jimmy Dean, I can't really remember) Sage is my favorite flavor sausage for this.
 I use my handy Pampered Chef sausage breaker upper thing...
When the sausage is cooked, sprinkle 2/3 cup flour on top
and stir it up mon!
Add your milk, I used two cups skim and one cup buttermilk (for tartness, and to compensate for the thinness of the skim)..

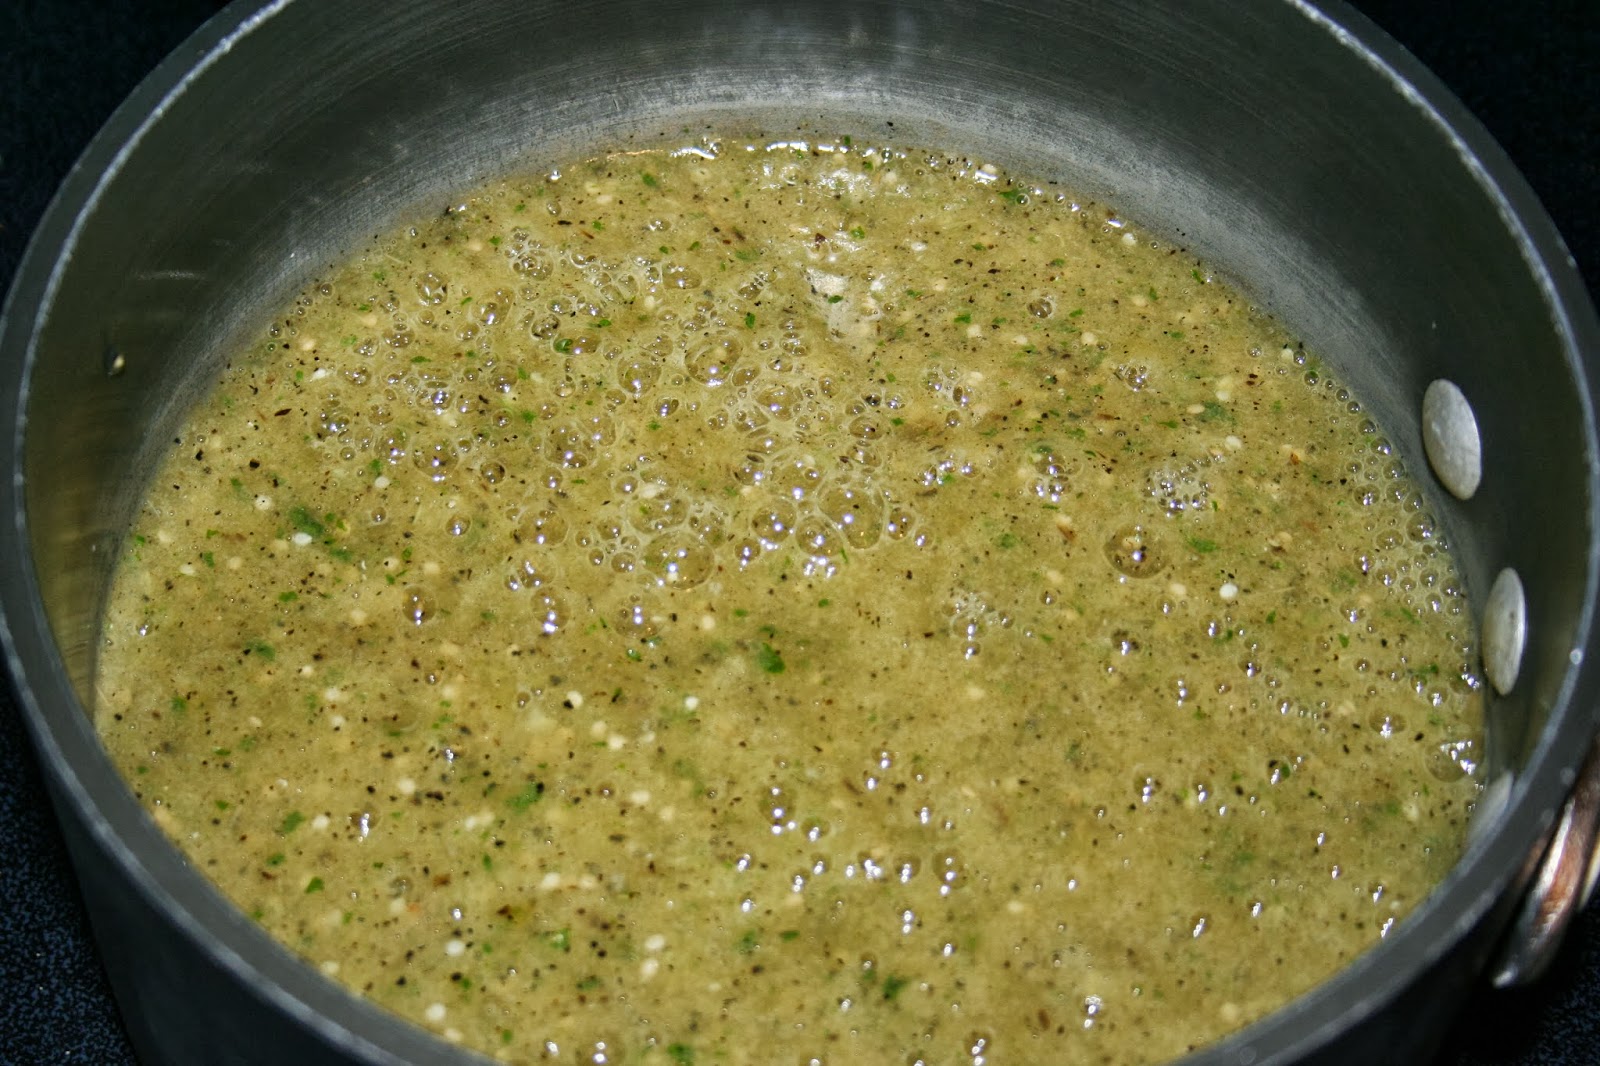
...and simmer till it's thick and bubbly.  If it gets too thick for your sensibilities, add more milk.

Add salt and pepper to taste...
and serve over a biscuit like so, or if like my creative stepson Owen, break up the biscuit into little pieces.  

I also like to add an egg fried over-medium, but I didn't here.

Since my gastric procedure, my big breakfast is what you see here... again, maybe with one egg if I haven't had any coffee yet.

The best thing about cooking a breakfast like this when the boys are here, is that Ethan, our 16 year old, has a 16 year old's bottomless pit of a stomach, and will eat enough of the biscuits and gravy that I don't have to worry about being tempted to go back for more biscuits and gravy later, because There won't BE any biscuits and gravy later!

See you next time!!

Monday, September 23, 2013

Grilled Chicken Enchiladas with Fire Roasted Salsa Verde

So.  Howsit going?  It's been a while since I have given this Blog a second thought.  When I do It is usually in passing, or when I cook a particularly good meal I feel like sharing.  Anyway, things have been busy since I last posted!  I finished my Paralegal Certification, bought a house, got married, you know... small things.  This dish, however, is something I have been working on (and off) for the past couple years, and is worth taking the time to document and share.


For this recipe I used the following:
Fresh Tomatillos, 2-3 pounds
Boneless, Skinless Chicken Breast - 4 Split Breasts
Fresh Cilantro
1-2 fresh Jalapeno peppers
Shredded Mexican Blend Cheese - 2 Cups
Minced Onion - 3 Tbsp
Fresh Garlic - 1-2 Tbsp
Fresh Lime Juice - 2 Limes, separated
Tortillas (If I was going for true authenticity, I would make them from Masa Corn Flour, and have on occasion. Alas, Mi Familia prefers flour tortillas.)

I started with the fresh tomatillos.  Honestly, I forgot to look at the receipt to see what the weight was, but I think it was between 2 and 3 pounds.
Here they are after removing the husks and washing wish cold water.
After placing them (and two decent sized jalapenos) on a preheated grill set to high...
I prepared my chicken by trimming off any cartilage and fat, splitting the breasts into cutlets of equal thickness, and seasoning with coarse sea salt, coarsely ground pepper, onion powder, and garlic powder.  I then sprinkled the chicken with the juice of a lime (about 1/8 - 1/4 cup)
I had gone outside halfway through the above procedure and turned my tomatillos and peppers.  When finished, i removed them to a bowl...
...and loaded the grill with the chicken, after spraying the grill carefully with cooking spray, standing back as to not burn myself with the flare-up from the burning oil.
When the chicken was finished, I brought it all back inside, got out my semi-trusty blender, and got to salsa-fying!
I loaded the blender with the tomatillos (including all the juice that dripped into the bowl, I added ONE of the roasted jalapenos (peeled, seeded, and pithed), and started blending on low speed...
I then added some washed cilantro (being careful to get only leaves, not stems)...
The juice of the other lime...
The minced onion...
and the garlic...
and finally removing the fully blended salsa to a small pot on medium heat, to simmer and wait for me to shred the chicken...
using two forks to pull it apart, and placing it in a large bowl.  Now I was ready to assemble.
I start by pouring a bit of salsa in the bottom of a large glass baking dish...
I lay a tortilla in the salsa, in the dish, put a decent amount of chicken in the middle...
and rolled the tortilla under, pulling it tight against the end of the dish...
repeating this process, and adding salsa to the dish as necessary to keep the tortillas wet.
When all the chicken was used and the pan was full, I poured the rest of the salsa on top evenly.  (Don't be afraid to force the enchiladas to fit tightly!)
I then spread the shredded cheese evenly over the top, placed the baking dish in an oven preheated to 350 degrees, and baked for 20 minutes to a half hour, till the edges were bubbly, and it looked like...
THIS!
I served the enchiladas with Goya Yellow Rice, and a large dollop of non-fat Greek Yoghurt, which gives you all the thick, rich sourness of Sour Cream without a single gram of fat!  I do not have a picture of the plated dish because, well, it aint really pretty after digging the individual enchiladas out of this!

It's a decent amount of work, especially for a Monday evening meal, but each of the several steps is in itself very easy, requiring no real technique, and the reaction from Erika and the boys made it well worth it to kick off the school week! Besides, there are leftovers for lunch!!

Stay tuned!  I promise to be back in less than two years!

Wednesday, July 27, 2011

Borscht Baby!

A quick little entry on the joys of this summer treat!  If I had been introduced to this velvety smooth goodness as a youngster, My lifelong aversion to the dread beet may have been avoided!
The farm share has been giving us beets, and although I can tolerate and even enjoy them to some degree simmered forever in butter, they just never really excite me.  so when I had two week's worth staring me down, I decided to go with a nice cooling soup.
I searched through the internet sites I usually troll for recipes and settled on a Lithuanian style Borscht, pureed.
Here is what I used:
Around two pounds of beets, cleaned peeled and sliced.
1 large cucumber, peeled, split, seeded, and chopped.
4 Tbsp butter
4 Cups Non Fat milk
4 Tbsp Lemon juice
1/4 cup chopped onion
1/8 Cup minced fresh basil
3-4 Tbsp White Vinegar
Salt
Pepper
First I put the beets in a heavy saucepan and simmered them in butter with a little salt and pepper for like an hour.
Then I cooled the beets by immersing a bowl in a sink filled with ice water
While the beets were cooling I added the lemon juice to the skim milk to make a buttermilk substitute.  You could use yogurt, sour cream, or buttermilk... or even Kefir.  I actually can taste a bit of lemon in my finished soup and I like it, so, it's up to you how you go.
Then I put the beets in the processor, and added the cucumber, onion and basil (The original recipe called for dill, which I am not a big fan of, it also had no instructions for pureeing the soup.) and process till ...well... processed.
I transferred 1/2 the mix to a blender, added half the sour milk and started pureeing the soup and forcing through a mesh strainer till it reached the desired silky smooth texture.
I then refrigerated the soup overnight.  This is an important step.
The end result is a deliciously smooth, cooling treat, like a beet gaspacho. It is shown with a dollop of sour cream swirled in.  The lemon and basil accent the beets better than I expected.

Tuesday, July 19, 2011

Basil and More Basil

So our take from our organic farm share has been on the low side this year, based on a combination of an overly wet spring, compounded by volunteer and employee error resulting in entire lost crops.  However we HAVE been swimming in lettuce, getting plenty of summer squash and zucchini (watch for a post on zucchini pancakes, coming soon!), the corn and potatoes have started, and the tomatoes are just getting underway.  For the past few weeks, we have been getting large bunches of basil.  Far too much basil to use in one week of conventional basil usage, even if I had pesto every night!  SO!  How to preserve it, and how else to use it?  The pic above is the first way I came up with to use more, namely, fry the basil in canola oil and season it with salt and pepper.  above it has been paired with a fresh farm share beefsteak tomato, and some fresh mozzarella for a crispier version of a classic!  If you have a deep fryer, use it.  If not, heat 1/2" oil in a wok to almost smoking,  The basil should be dry. If washed first you must dry it with paper towels very well, or it WILL splash you will burning oil!  Add the DRY basil (Look, just make sure it's dry, aight?) in small handfuls to the oil, tossing quickly, and removing in under 30 seconds. NOTE:  Before you put your first handful of leaves in the almost-smoking-hot-oil, think about how you might get the leaves out of said almost-smoking-hot-oil.  Tongs will break the leaves.  You will need to scoop them out with a slotted spoon.  Drain excess oil.  DO NOT pat with paper towels or they will crumble. I actually lined my salad spinner basket with paper towels and spun the oil off of them, with some limited success.  They are a crispy and delicious treat, even if just munching!
An old Martha Stewart trick is to make Pesto and freeze it in portions for easy use later.  She used an ice cube tray.  Great idea but since I have an automatic ice maker, I have no ice cube trays.  So I simply found a good pesto recipe (one with nuts and lots of garlic and even walnuts!) whipped it up, and dropped tablespoon-fulls of it into a muffin pan, lined with plastic wrap.  I froze them on the pan, and then put the little pesto patties into a soup container to go back in the freezer.
finally (or, if truth be told, Firstly, since I actually did this a few weeks ago.)  I made a half pesto by processing the basil and adding some oil to make a basil paste which I use a spoonful at a time.  this has been turning darker, but still tastes great.

Wednesday, May 11, 2011

The Strawberries are here! Boneless Pork Chops with Strawberry Gastrique, Pecans and Gorgonzola

The Strawberries are HERE at last!  I've been buying and enjoying the Florida Strawberries for around a month now, and I think half the reason I buy the expensive inferior berries from down south is that when the New Jersey ones hit, they taste all that much sweeter!  Maybe they taste this good when you buy them fresh and local in Florida, maybe not.  All I know is that the plastic container of big fat berries in the supermarket cannot hold a candle to the fresh local berries I buy at the Farmer's Market in Trenton, or in a week when our organic farm share lets us start picking them ourselves.  So of course, at the Farmer's Market today, I got carried away and bought three quarts!  When I arrived home I immediately cleaned, hulled, sliced and sugared one of the quarts to have for dessert with some Halo Farms Lemon Cream Sorbet, toasted chopped pecans and whipped cream!  Then I decided that a nice gastrique style reduction would go nice with the boneless Pork Chops I bought for dinner,
So I sliced up about 1 1/2 cups of berries,

and put them in a pot with 3/4 cup water, 3/4 cup Balsamic Vinegar, 3/4 cup White Wine (sauvignon blanc), 3/4 cup sugar, and a pinch of salt.
I boiled them...
and boiled them some more until they reduced about 3/4.  The sauce was looking nice and syrupy at this point so I removed from the heat and strained into a measuring cup through a mesh strainer.  It still looked a little thin to me,
So I put it back on the heat and reduced it some more.

While all of this was happening, I prepared a nice salad of fresh lettuces, tomatoes, and carrots I got at the Farmer's Market, and seasoned my Pork Chops with Kosher Salt, Fresh Ground Pepper, and Fresh Rosemary.
I browned the Pork Chops in a pan, and allowed them to rest, covered, for about 8 or 9 minutes, while toasted chopped pecans on the stove.
I plated by pouring a little of the gastrique on the plate, adding the chop, topping with some of the pecans and  crumbled Gorgonzola, and finished with a bit more of the gastrique on top.
Served with the salad, some steak fries on the side, and a glass of the Sauvignon Blanc, they were a delicious harbinger of the fresh bounty yet to come this spring!  The dessert rocked too!